Katy Manis

Starting a New Lawn: Seed vs. Sod

When you are looking to create a new lawn area in your landscape, there are two basic ways to accomplish that: laying down sod or grass seed. While the end result will generally be the same, the process to achieve an even, green lawn is very different.

Growing a Lawn From Seed

For most of history, if you wanted a lawn, you grew it from seed. Seeding a lawn is still an extremely popular option. The biggest factor in that popularity is the cost, as laying down seed is much less expensive than sod. The cost savings increase as the area of grass does, with hydroseeding becoming a fast, economical option at larger scales. Growing a lawn from seed also allows you to choose one or more grass species that are well-suited to your particular site conditions, whereas sod is usually developed for average conditions and can perform poorly at extremes.

The problem with seeding a lawn, however, is that it takes a lot of time and maintenance to get a nice green lawn established. Frequent water is critical to get the grass established, especially while the seed is germinating. The soil should be kept damp during that period, which will likely require at least two watering sessions a day, with more in hot or dry weather. The grass seeds can blow or be washed away, and weed seeds can similarly be introduced into the new lawn. Running and playing, or even just walking on the new lawn can damage the new plants, so it’s out of commission for weeks to months as the grass is growing. It may take multiple rounds of seeding, fertilizing, and weed control to achieve the traditional lush, green lawn many people desire.

All About Sod

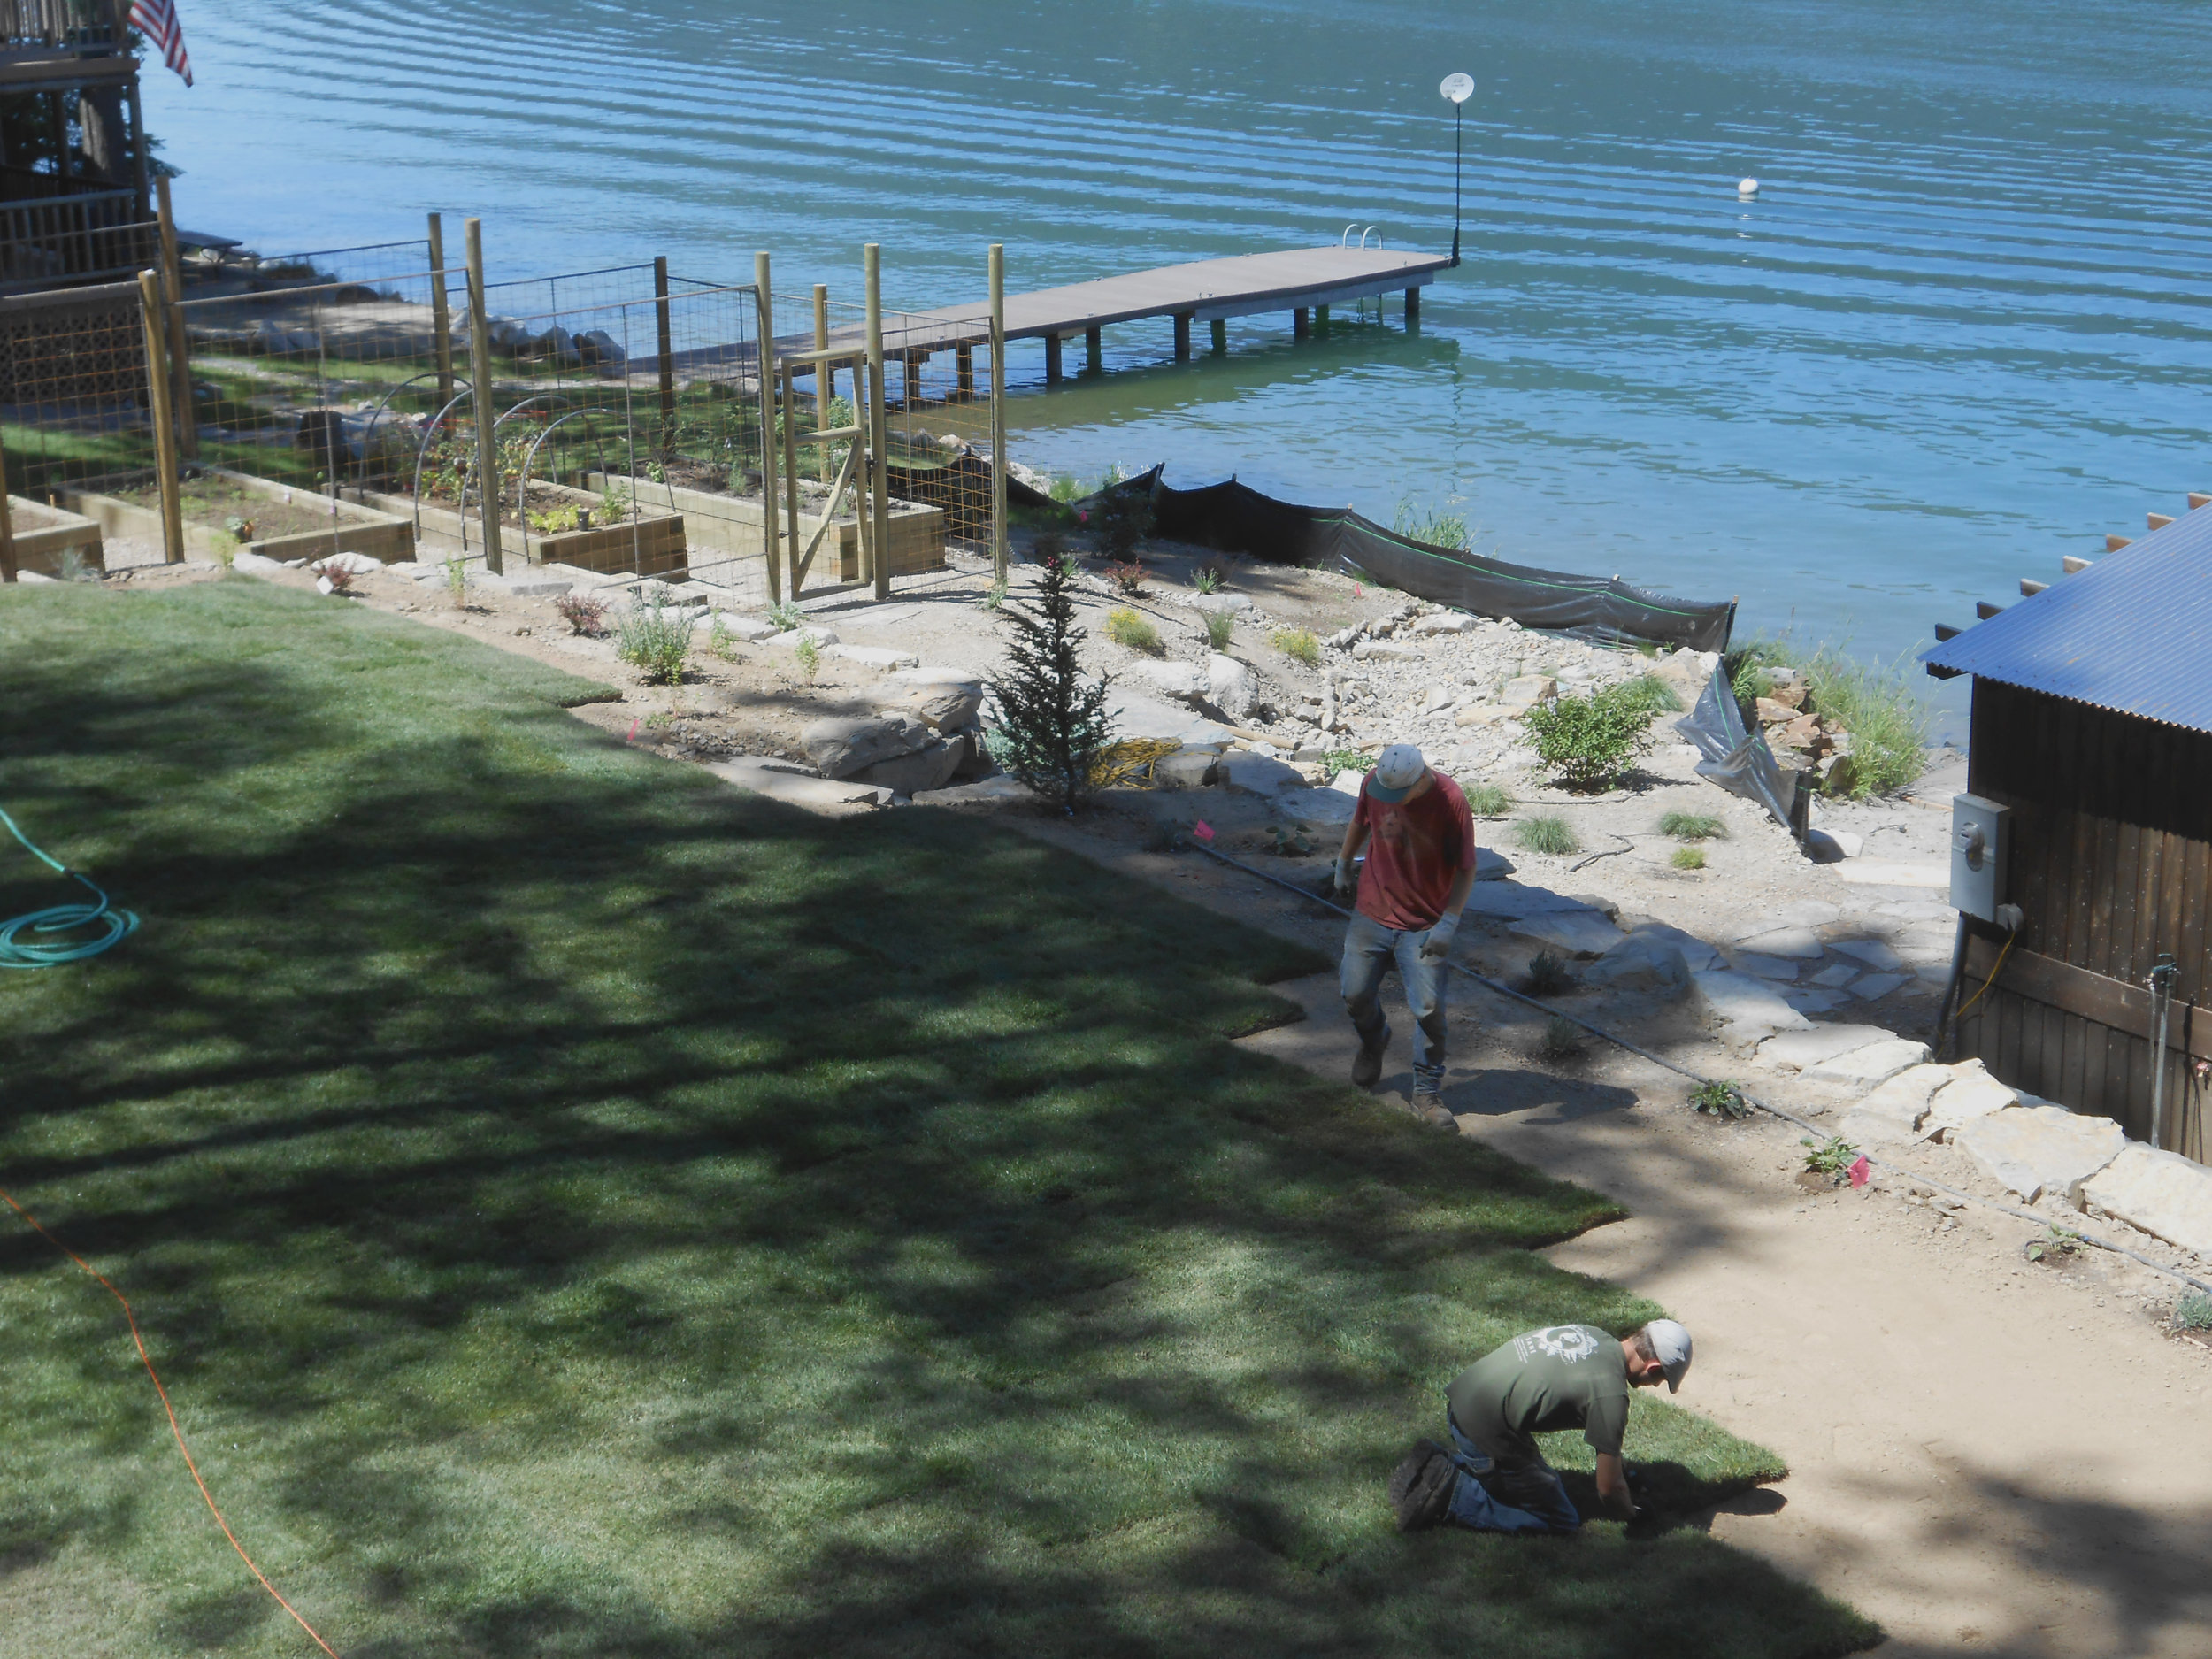
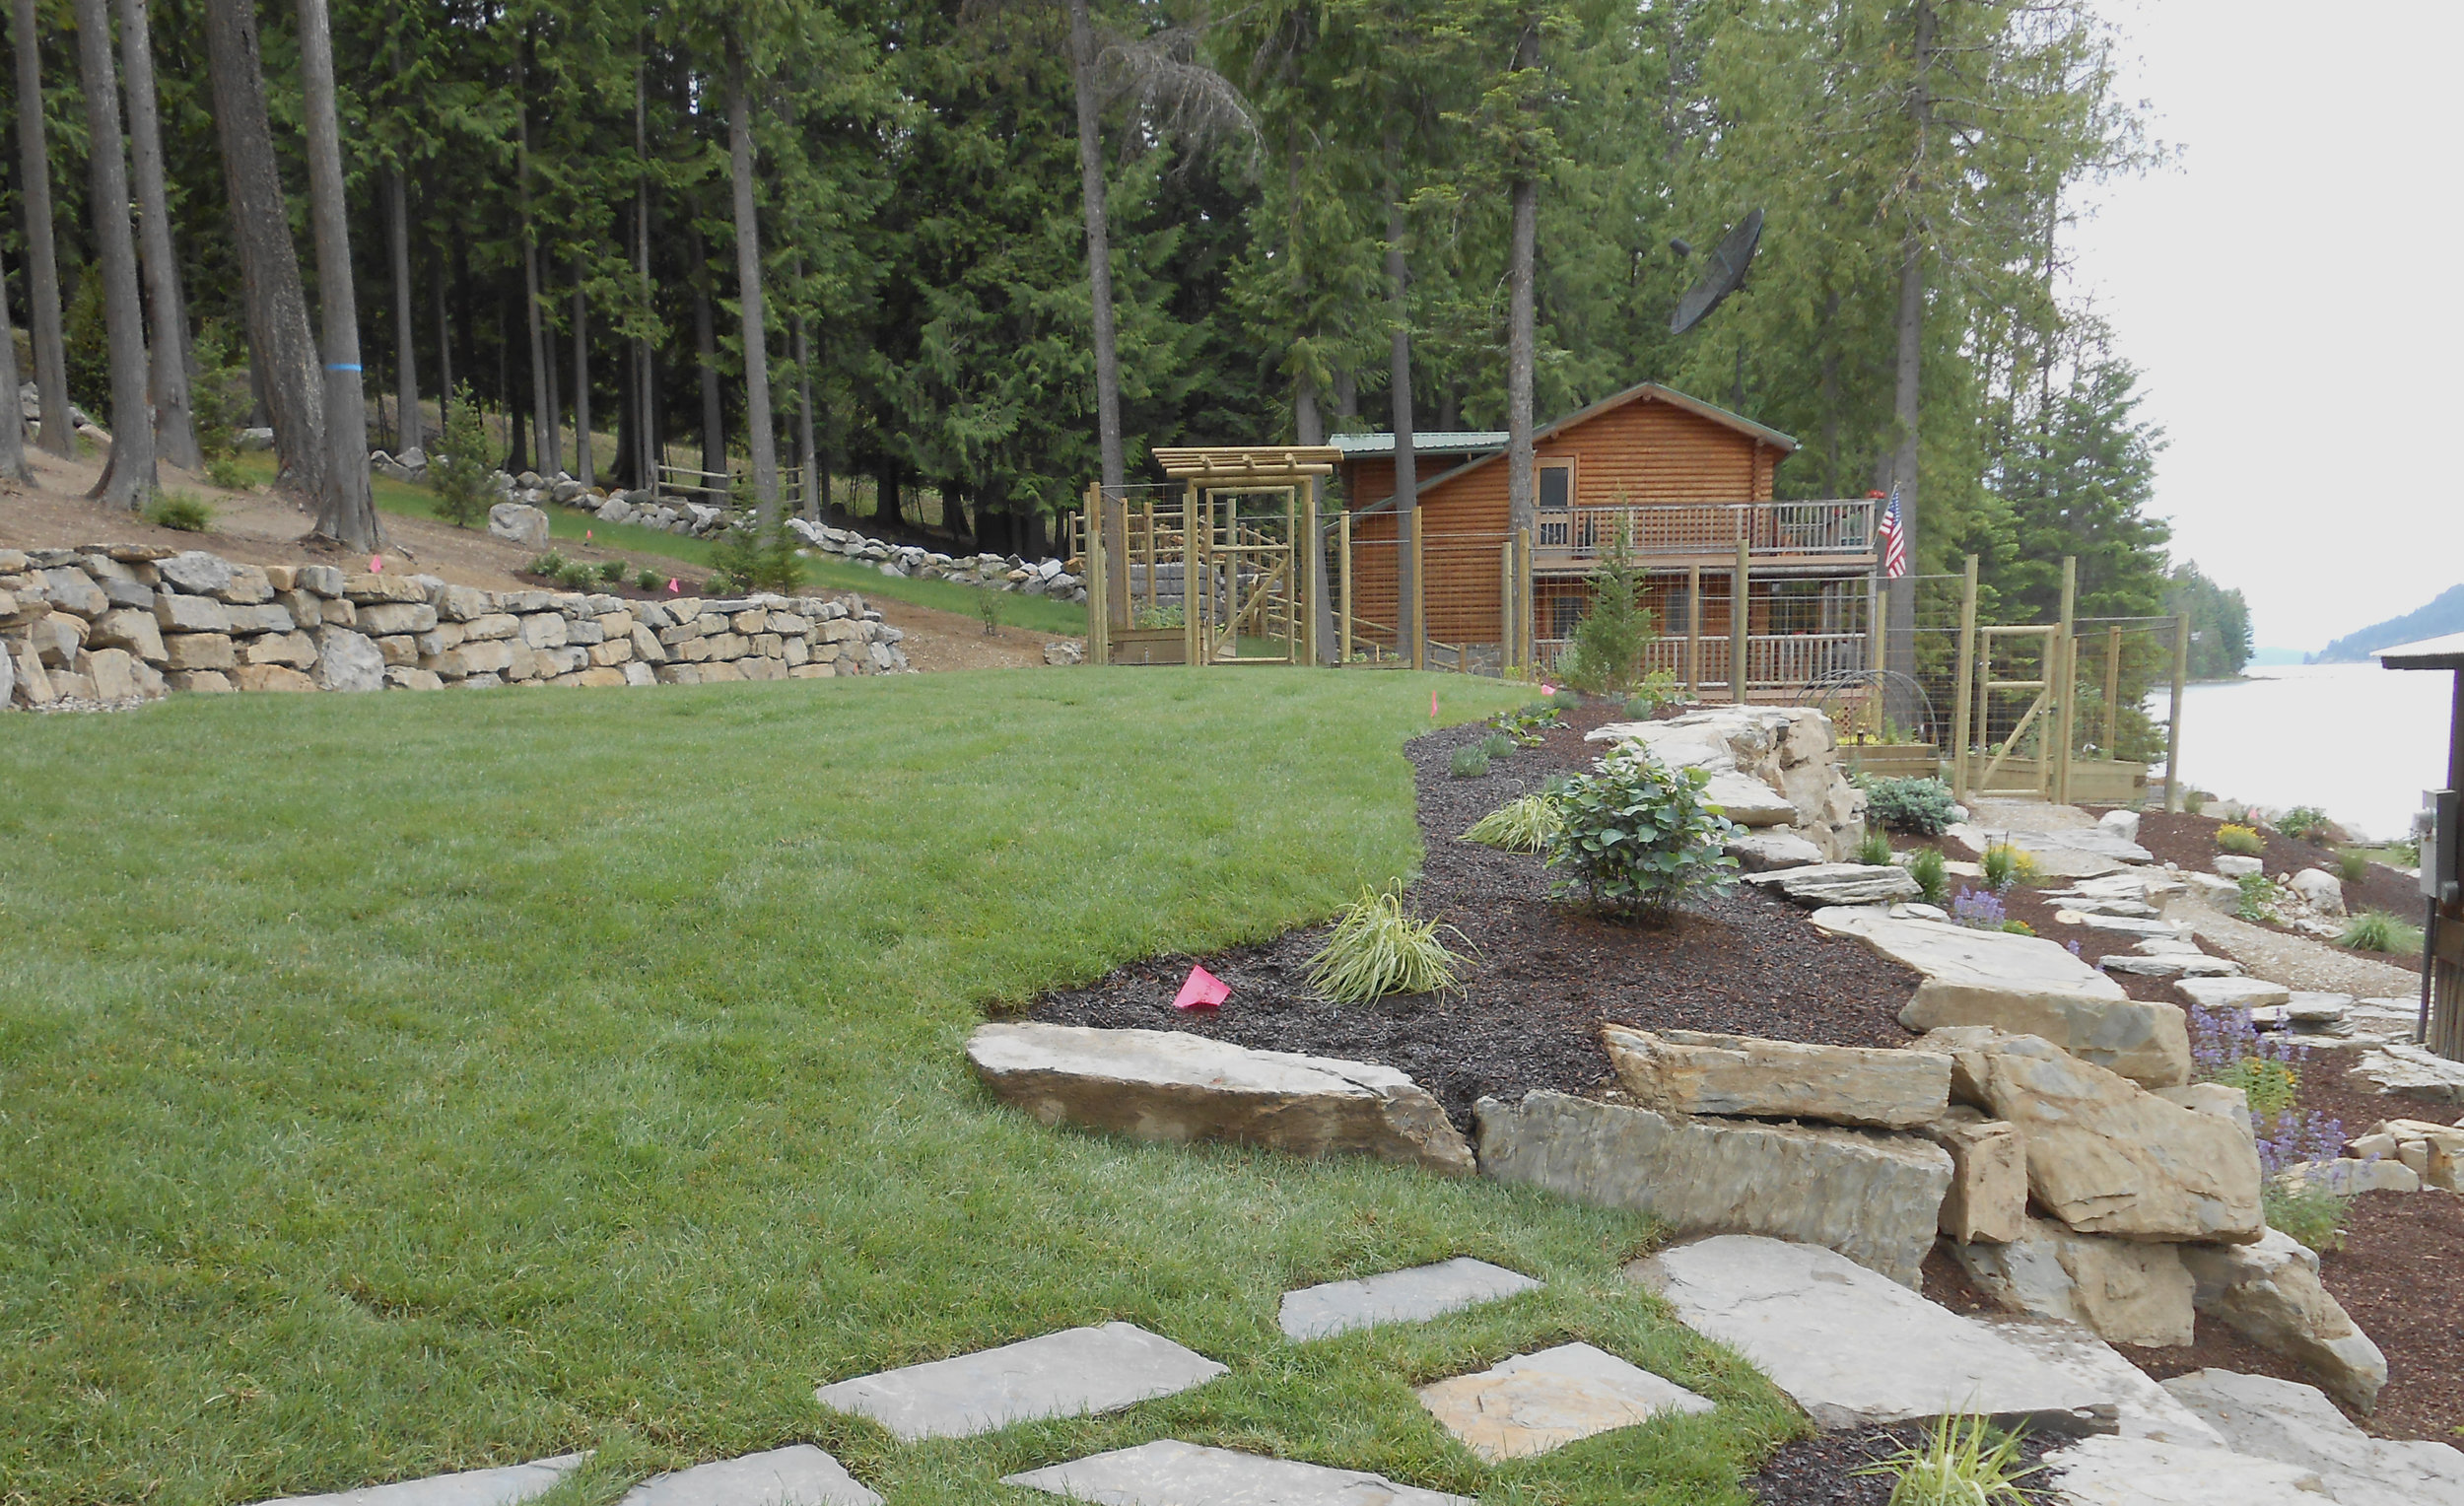
Sod eliminates all the work and waiting of establishing a lawn from seed. If you opt for sod installation, you are essentially outsourcing your grass-growing to a farm. The sod farm will deal with watering and fertilizing the grass as it grows and applying pesticides to control weed growth. The sod that gets delivered will be lush, green, and weed-free. It will need a short period of frequent watering for the roots to establish into your existing topsoil, but nothing as extensive as growing from seed. Within a couple days it can take light foot traffic, and is ready for more active use not long after.

Because of the work involved in both growing and installing sod, however, a new sod lawn is much more expensive than the same lawn would be if grown from seed. Sod also is a poor choice if you’re looking for a lawn with specific qualities like drought- or shade-tolerance, as most sod farms generally grow a one-size-fits-all product.

Another downside to sod is the nylon mesh it often relies on. Depending on the region and the grower, sod is often grown with a layer of nylon netting as a substrate. While this makes it easier to cut, roll, and transport the sod, it can cause big headaches down the line. The plastic mesh does not degrade while buried underground, remaining beneath the lawn for decades. Adding or expanding planting beds in the future will require carefully digging up and cutting the old netting in order to avoid damaging the existing lawn. If the lawn itself needs to be revamped in the future, the mesh can tangle up tillers and seeders and add a lot of headache to the job. If there isn’t a local supplier who offers a mesh-free product, removing the mesh before installation can save a lot of work and frustration in the future.

The choice between sod and seed really comes down to the balance between money and time. If you have the time to nurse your new lawn along and can wait for the finished product, seed will certainly save you money. For a quick, low-effort lawn, however, sod might be worth the cost premium.

Plant Spotlight: Bleeding Heart

What It Is

Bleeding heart is a shade-loving perennial that originated in Asia. Although it is now classified as Lamprocapnos spectabilis, it is still commonly referred to by its former genus of Dicentra. It is named for the shape of its flowers, which feature inner drop-shaped petals protruding from the main heart-shaped pair. Bleeding heart blooms in springs, with its distinctive flowers arranged along delicate arched stems. In the Inland Northwest climate, the whole plant often goes dormant in the summer, with its foliage dying back to the ground.

Bleeding heart gets its name from the heart-shaped flowers.

Bleeding heart gets its name from the heart-shaped flowers.

Why to Grow It

Bleeding heart tends to be very low-maintenance if planted in the right conditions. In addition to its high shade-tolerance, bleeding heart is also quite deer-resistant, a combination which makes it an excellent choice for wooded landscapes. Its springtime blooms add early color to the landscape, and their unique shape makes bleeding heart a striking cut flower.

Where to Put It

Bleeding heart does well in full shade, but some morning sun will improve flowering. Consistently moist, well-drained soil is also important, or the plant will go dormant. While bleeding heart starts as a small plant, over time it can grow to three feet wide and tall. Because it goes completely dormant in the winter, it is an excellent choice under roof driplines, where falling snow might crush other plants. And since it also typically goes dormant in the summer, it is best to locate it with other shade plants like hostas or columbine, which fill out later in the season.


10 Steps to Successfully Plant a Tree

Trees are a great addition to any landscape. They raise property values, decrease respiratory diseases, lower cooling bills, reduce stormwater runoff, provide wildlife food and habitat—the list goes on and on. If you want to capture some of these benefits for yourself, there are ten steps to follow when planting a tree to ensure it will thrive and grow for years to come.

1. Locate Utilities

The last thing you want to do when planting a tree is accidentally damaging underground utilities. Call 811 before you do any digging to have your local providers come out to locate and mark any utilities on your property. Also consider overhead utilities—don’t plant a tree that will reach 40’ tall underneath your electrical service drop or other supply lines.

Dig a hole three times as wide as the tree's root ball and just deep enough for the trunk flare to sit at the finished surface of the soil.

Dig a hole three times as wide as the tree's root ball and just deep enough for the trunk flare to sit at the finished surface of the soil.

2. Identify the Trunk Flare

The trunk flare is the point at which the tree trunk transitions to the root system. The trunk flare should sit right at the surface of the earth after the tree is planted. Burying a tree too deeply can suffocate the tree, create problems with fungus and pests, and lead to a poorly developed root system. Most species of trees have a clear curve leading to the roots, but for those without, the trunk flare should be considered to be the point above the highest root on the trunk. Trees from the nursery sometimes have their trunk flares buried too deep, so some excavation might be necessary.

3. Dig a Wide Hole

A tree’s roots travel outward much more than they do downward. Dig a hole three times as wide as the root ball, but only as deep as the bottom of the root ball to the trunk flare. After you backfill the hole, the roots will have wide ring of uncompacted soil to grow into.

4. Remove the Tree Container

Whether it’s a plastic pot, burlap, or wire mesh and plastic, remove any material containing the root ball. For very large balled and burlap trees, it may be difficult to remove the entire covering. In that case, cut the metal cage to remove the sides and remove as much burlap as possible. The roots will grow laterally and should not be constrained by the remaining material.

It is especially important, however, to remove any synthetic twine or burlap, as these materials will not degrade underground and will strangle the growing tree. Twine around the trunk can rapidly girdle the tree, cutting off its transport of water, air, and nutrients, and leading to the decline and death of the tree.

Container-grown trees may have circling roots or other root problems. Making few vertical slices and spreading out the roots as much as possible will help the roots grow naturally and vigorously.

5. Place the Tree in the Hole

After preparing the root ball, place the tree in the hole so that the trunk flare will sit a couple inches above ground level. It is better to have the root flare a bit too high than for it to be buried. This will also allow for some settling of the tree in the soil. Spread the roots out in the hole as much as possible.

6. Straighten the Tree

After the tree is settled in its hole, view the tree from several directions to make sure the trunk is straight and vertical. Add soil underneath the root ball to support the tree as necessary. For multi-stemmed trees, consider where the tree will be viewed from and focus on the overall balance of the branches from those points.

7. Fill the Hole

When the tree has been positioned well, start backfilling the hole gently, making sure not to damage the roots. To help settle the soil evenly, fill the hole a few inches at a time, soaking the soil with water as you go. This will eliminate air pockets in the soil, which can dry out roots and settle unexpectedly in the future.

8. Stake the Tree if Necessary

Not only do most trees do not need staking after they’re planted, it can be detrimental to their overall vigor. On windy sites, however, or if the tree is in a location that could see damage from lawnmowers or vandalism, protective staking may be warranted. If staking is considered necessary, make sure to remove the stakes within the first year of growth to avoid long-term damage to the tree.

Apply two to four inches of mulch around the tree, avoiding the trunk itself.

Apply two to four inches of mulch around the tree, avoiding the trunk itself.

9. Mulch Around the Base

Mulch protects your tree in a variety of ways. It holds in moisture, reduces competition from weeds, moderates soil temperature, prevents damage from string trimmers or lawn mowers, and simply looks better than bare dirt. Adding two to four inches of mulch, whether it’s shredded bark, pine straw, compost, or any other organic material, will greatly improve the health of your new tree. Ensure that the mulch is kept a couple inches away from the trunk of the tree to prevent issues with rot or pests that could arise from the retained moisture.

10. Keep Providing Care

Putting the tree in the ground isn’t the end of the journey. Because of the disturbance to the root system, many newly-transplanted trees undergo transplant shock. The first few weeks after planting are an especially important time to nurture the tree. In the Spokane climate, regular watering will be the most important thing to do to protect your tree. A new tree needs approximately five gallons of water per week for every inch of trunk diameter, and a slow, deep watering with a drip system is much better than dumping a bucket of water around the tree and calling it a day.

Keep an eye out for pests and root suckers, but otherwise keep maintenance to a minimum. Pruning should be kept to a minimum for the first few years and performed only to establish the form of the tree. Similarly, fertilizer should be avoided unless soil tests show a serious nutrient deficiency, as the salts in them can interfere with a young tree’s ability to take in water. Hand-pull any weeds that appear around the tree to avoid inadvertently damaging it.

The older a tree gets, the better it can withstand drought, disease, and neglect. Putting in time now will allow you to reap the rewards of having a mature tree in your landscape.

Adapted from the International Society of Arboriculture tree planting guidelines: http://www.treesaregood.com/treeowner/plantingatree.aspx


Choosing the Right Patio Material for Your Landscape

A patio is often the central element of a residential landscape. It provides a space for gathering or entertaining, becoming an extension of the indoors. The specifics of a patio can be customized endlessly to suit the needs and lifestyle of the homeowner, but there are a few broad categories of material to choose from.

Poured Concrete Patios

Poured concrete is by far the most popular choice for an outdoor patio. It comes in a range of colors and textures (see our post on concrete finishes here), which makes it suitable for any style of landscape. Concrete provides a smooth, flat surface that is easy to walk across and is a perfect setting for outdoor furniture. Other than regular cleaning and sealing, concrete is extremely low maintenance option, and properly installed and cared for concrete has a very long lifespan.

A stamped concrete patio creates an entertaining pocket on this hillside.

A stamped concrete patio creates an entertaining pocket on this hillside.

Concrete can be an expensive option, however, especially depending on the complexity of the finishing process. It is also difficult to repair any damage that occurs, and the old saying that there are two types of concrete--concrete that has cracked, and concrete that will crack--holds true, even with the best preparation. Concrete patios also have a heavy environmental burden, requiring a large amount of energy to produce the cement that binds the concrete together. Concrete is also an impermeable surface, meaning that water cannot pass through it. Instead, water runs off the surface, which can cause localized flooding. Runoff from concrete can also carry contaminants, which is an important consideration for landscapes near sensitive wetlands and bodies of water.

Paver Patios

Paver patios are a classic style that still works in modern landscapes. While traditional paver patios were usually made of clay bricks, today you’re more likely to find pavers made from concrete in an assortment of shapes, sizes, and colors. Paver patios can create a rich, elegant look in the landscape, and the variety available makes it possible to find a paver that complements any landscape. Because they are modular by nature, a paver patio is easy to repair if part of it gets damaged, and the pavers themselves can be used if the patio layout is changed at some point in the future. Depending on the installation procedure and the style of paver, the joints between pavers can allow water through, allowing for water infiltration into the soil below. These semi-permeable designs can be a good choice for patios in ecologically sensitive areas, creating less runoff than concrete or non-permeable pavers while still offering a smooth, usable surface.

Modern concrete pavers come in a variety of styles, like this flagstone look.

Modern concrete pavers come in a variety of styles, like this flagstone look.

Concrete pavers, however, carry with them the same energy intensive manufacturing process as poured concrete. They also require a great deal of work to install, especially in regions like Spokane and Coeur D’Alene where extensive preparation is needed to counteract frost heave. When accounting for all the labor involved, paver patios usually end up more expensive than even the priciest concrete finishes. And while well-chosen pavers can give a landscape a luxurious look, the wrong pattern or color will make things look busy or overwhelming, detracting from the overall design.

Flagstone Patios

For a patio that truly expresses the character of its setting, local flagstone can’t be rivaled. A flagstone patio is usually constructed one of two ways. Either the flagstone pieces are set in a bed of sand, similar to paver installation, or they are mortared on top of a poured concrete slab. Either method can be repaired in case of damage, and the former has the added benefit of being permeable to water infiltration. The irregular shape of flagstone can add a natural feel to the landscape, but it can also be cut to size, known as dimensional stone, for a more classic style.

This flagstone patio creates a natural, low-impact entertaining area by the water's edge.

This flagstone patio creates a natural, low-impact entertaining area by the water's edge.

The variation in the surface of flagstone, however, doesn’t make it a great choice for high use areas, especially dining areas where people will be frequently moving furniture around. Additionally, natural flagstone is often one of the most expensive patio options, depending how common the stone is and how far from the quarry the project is located. In addition to the high costs of materials, uncut flagstone requires even more installation time than pavers, as each stone has to be fitted together with others like a puzzle. Dimensional flagstone has the advantage on install time, but more than makes up for it with the increased processing it has to undergo. And when it comes down to it, natural stone simply doesn’t work with every style of landscape.

Gravel Patios

Gravel patios offer a substantially different surface to other options, and the exact gravel choice has a lot of impact on the functionality of a patio (see our post on that here). Overall, however, gravel patios are an inexpensive option for outdoor gathering space. Gravel is fully permeable to water, and of course won’t suffer from cracks or chips in the surface. From modern to rustic landscape designs, there are gravel options to fit.

Concrete pavers set into this gravel patio create a more robust walking path.

Concrete pavers set into this gravel patio create a more robust walking path.

Gravel is best suited to patios that don’t get heavy use, however. Foot traffic and the movement of furniture will displace the gravel, although the degree of movement will depend on the type of used. Sitting areas can be great, for example, but the constant scooting of chairs around a dining table would be difficult on most gravel surfaces.And without some sort of buffer between the patio and the indoors, it’s easy to track gravel particles indoors, potentially damaging floors inside.

One material does not exclude another, however, and it’s possible to artfully mix patio materials in the landscape, or even within an individual patio. If you’re interested in a creative patio design, get in touch with us at Pacific Garden Design to discuss your landscaping project.

Plant Spotlight: Smooth Sumac and Staghorn Sumac

What It Is

Sumacs are plants from the genus Rhus that grow around the world, with over a dozen true sumac species in North America. Despite the name, poison sumac is included with species including poison oak and poison ivy in the Toxicodendron genus. Sumac’s dried, ground fruit is a common spice in Mediterranean and Middle Eastern cooking, and the dried berries can also be used to made a lemonade-like beverage.

There is significant variety in size and form in the genus, but Rhus glabra, smooth sumac, and Rhus typhina, staghorn sumac, are two of the larger forms that can be grown as small trees. Though they are nearly identical in appearance and growing conditions, Rhus glabra is native across North America, including the Spokane region, while Rhus typhina is native only to the eastern half of the continent. Both grow naturally as large, multi-stemmed shrubs forming large colonies, but a bit of yearly pruning will keep them trained into a tree form.

Rhus typhina's rust-colored seedheads persist through the winter for a striking visual display.

Rhus typhina's rust-colored seedheads persist through the winter for a striking visual display.

Why to Grow It

Smooth sumac and staghorn sumac are fantastic plants for four-season interest. In a garden setting, sumac’s bare lower trunks offer architectural interest in spring and summer, while its feathery compound leaves create a dense screen of green foliage. Fall and winter are its real time to shine, though. Large conical seedheads mature throughout the summer, arriving at a deep rust color by autumn.The contrast with the green foliage is stupendous, but even better is the brilliant orange-red fall color. Sumac is one of the first plants to change, making it easy to identify along roadsides and in its native habitat. After the leaves drop, the seedheads persist through the winter, offering a bright spot of color as well as important food for wildlife.

Where to Put It

Sumac is an excellent plant for naturalizing marginal areas, as it does well in extremely poor soils and is very drought tolerant. It can often be seen on steep hills or along the roadside, as it is also resistant to erosion and pollution. In a residential landscape, a single-trunked tree will grow to about 15’ high with a slightly wider spread. Sumac will take some shade, but prefers full sun, and has low water requirements. Because the foliage is massed towards the top of the plant, sumac can be complemented with low- to medium-height perennials and shrubs around it to provide a visual balance.